100 Holes of Golf Marathon

October is PGA Reach Philadelphia’s Month of Giving. In honor of the occasion, I have partnered with my co-worker, Laura Schiavo. Together we have each committed to playing 100 holes of golf on October 10, 2019. Playing 1 ball and 1 hole at a time, we will be working to raise money for PGA Reach Philadelphia.

Highlights from the Las Vegas Pro-Am

Highlights from the Las Vegas Pro-Am

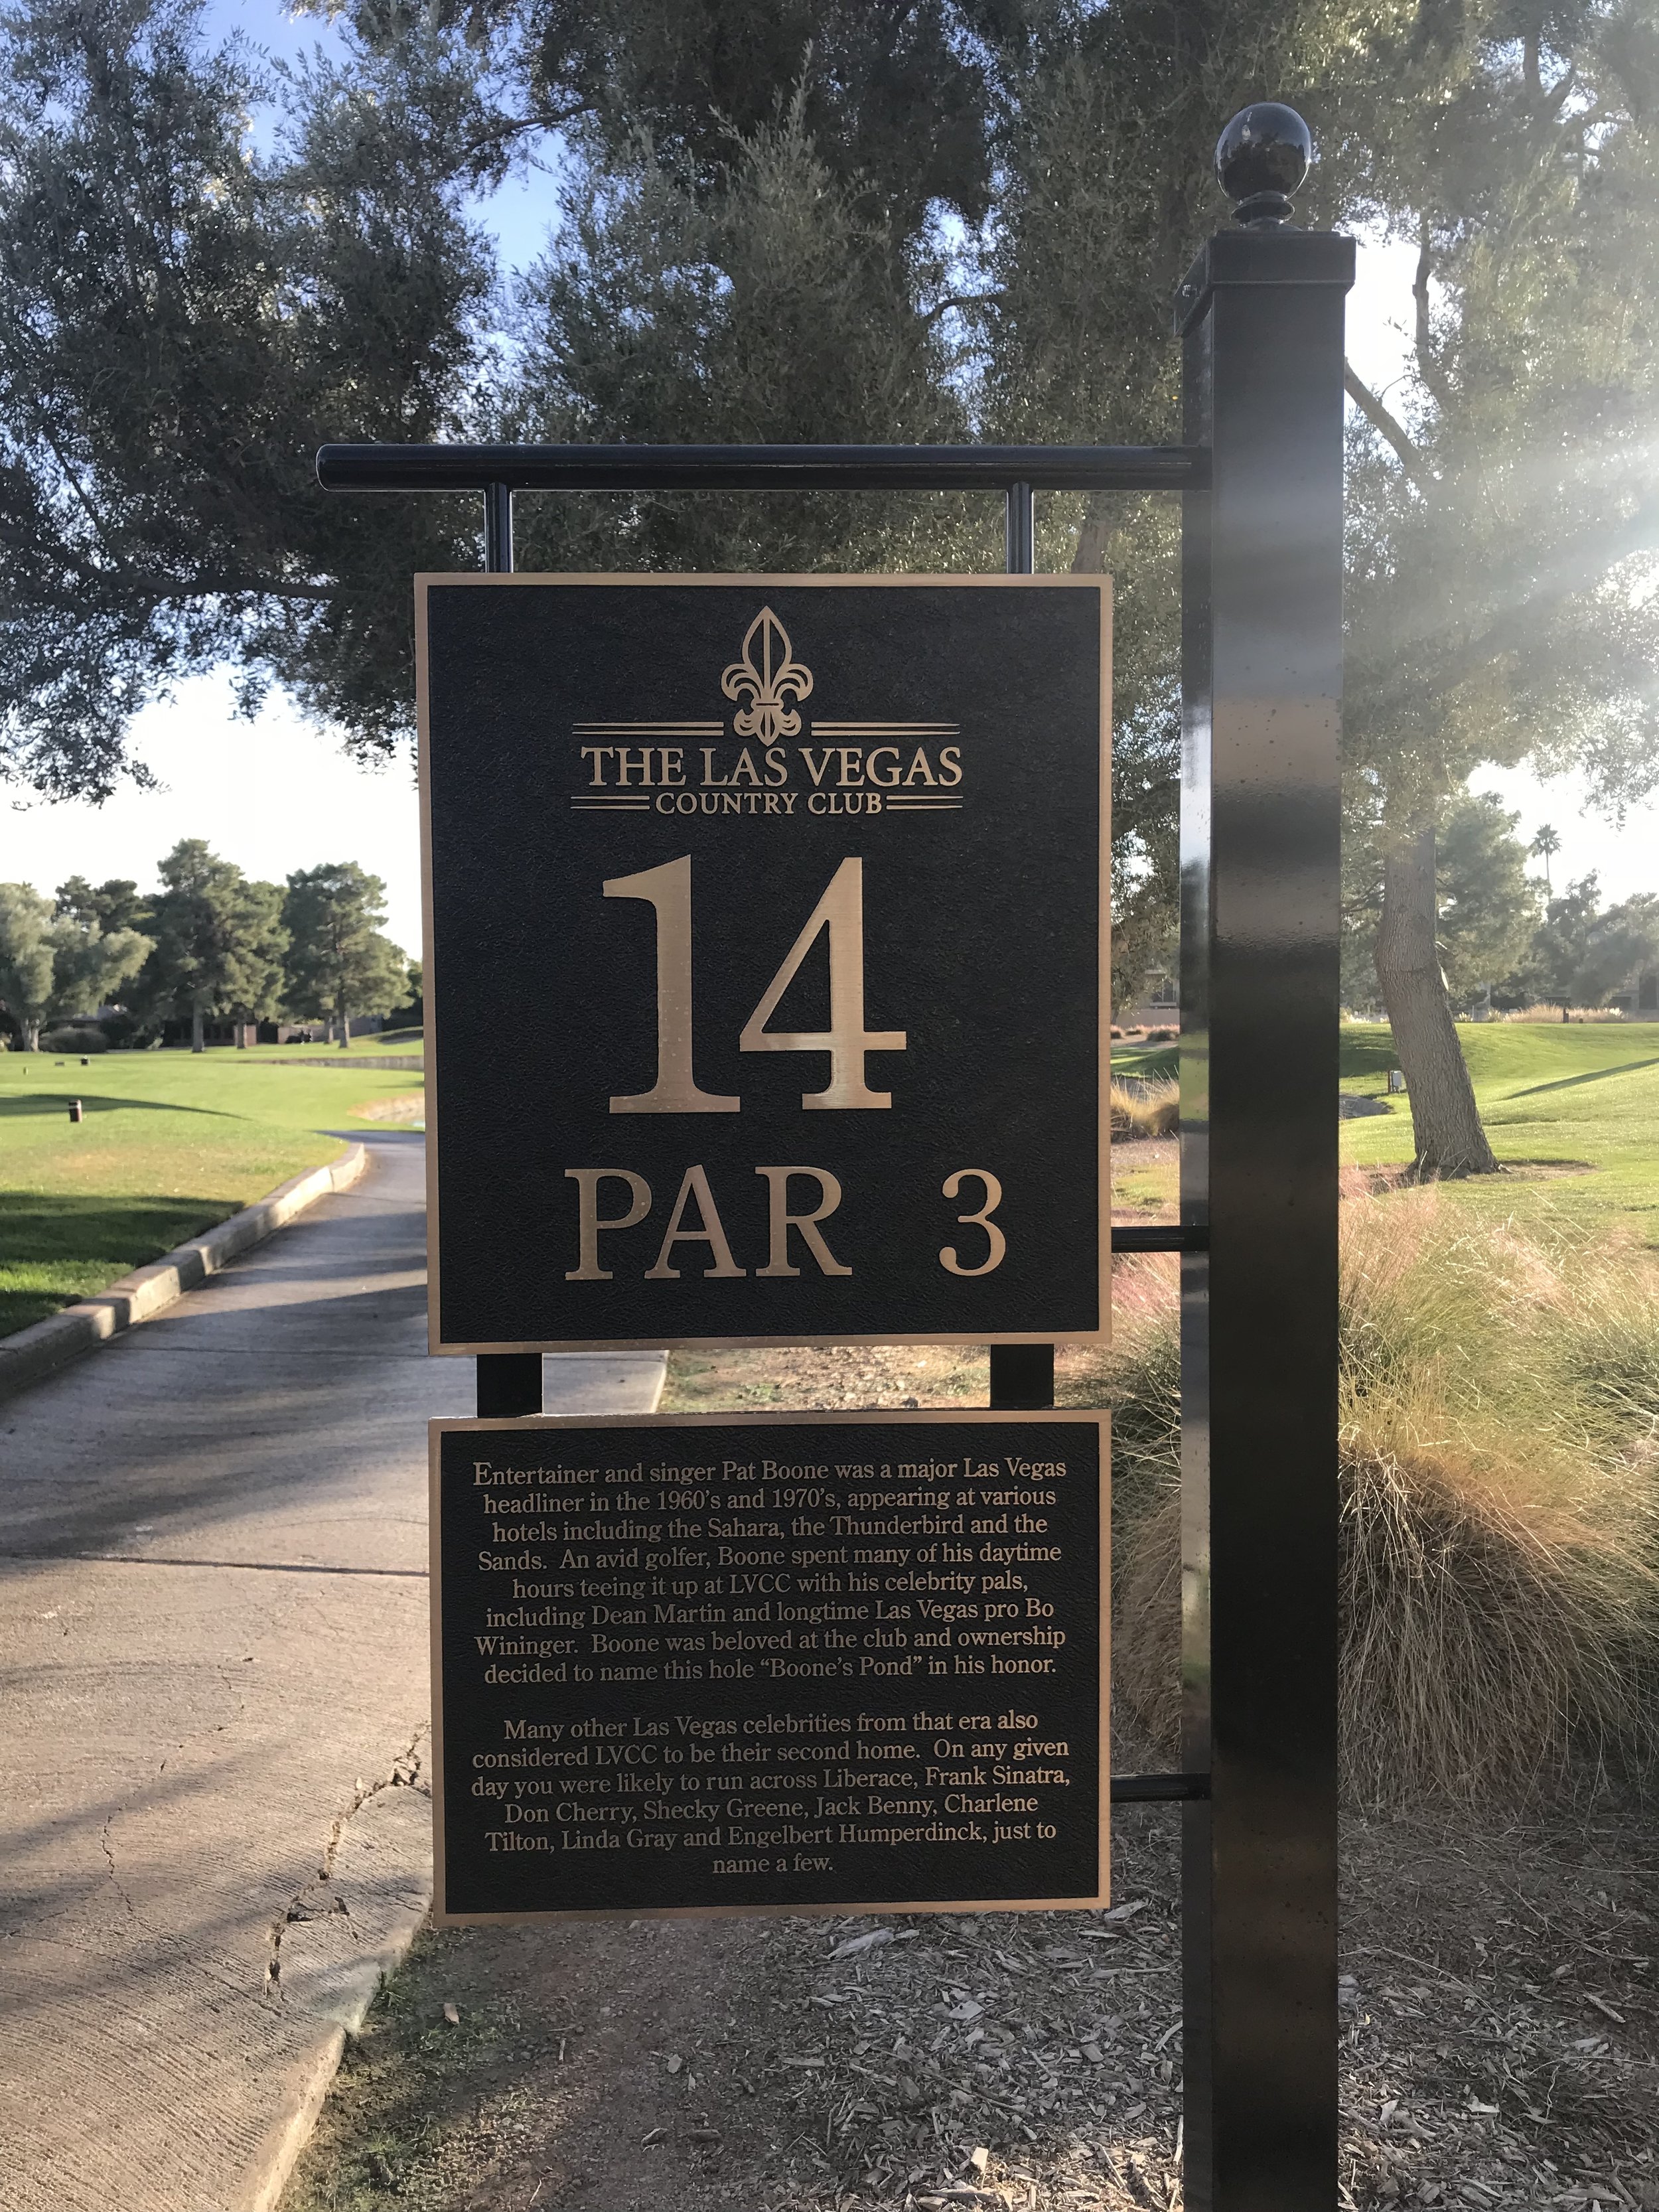
This past November 2018, I had the privilege of hosting two groups at the 1st Annual NJPGA / PPGA Las Vegas Pro-Am, presented by LP Golf Getaways and sponsored by Greyson Golf Apparel.  As part of the tournament, we got to play TPC Summerlin, Las Vegas Country Club, and Cascata — all courses offered distinctly different looks and unique experiences.

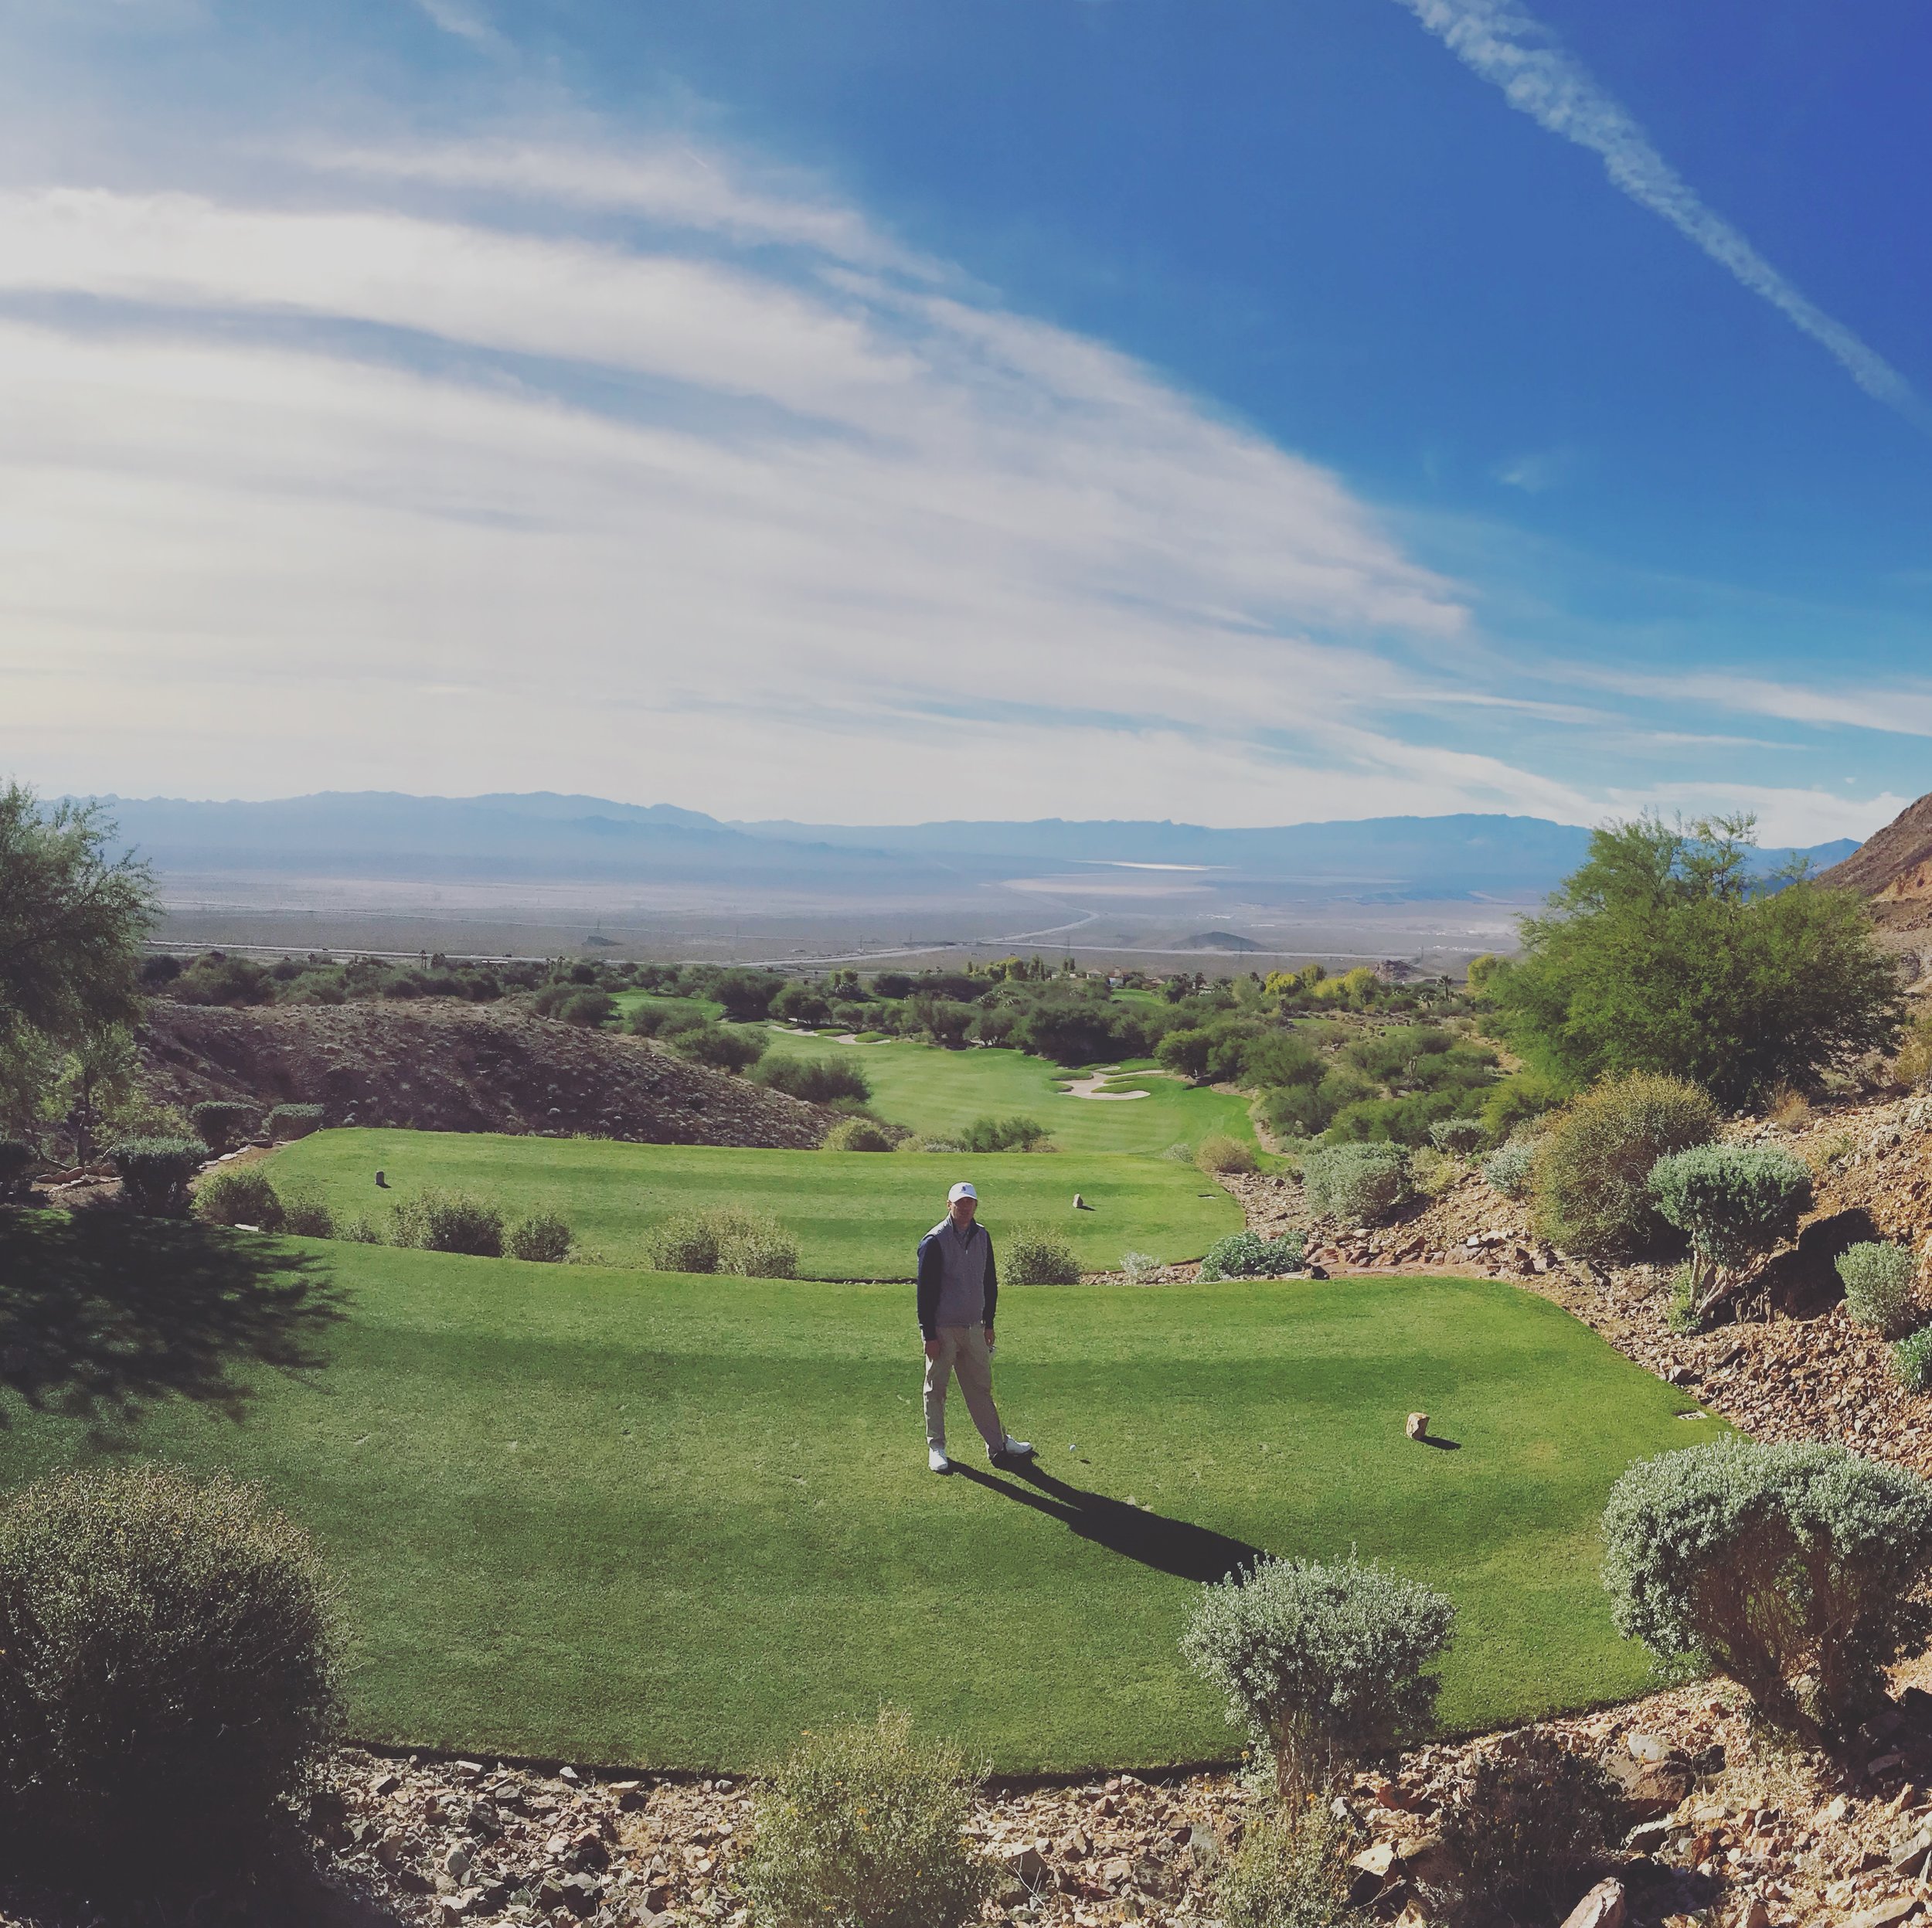
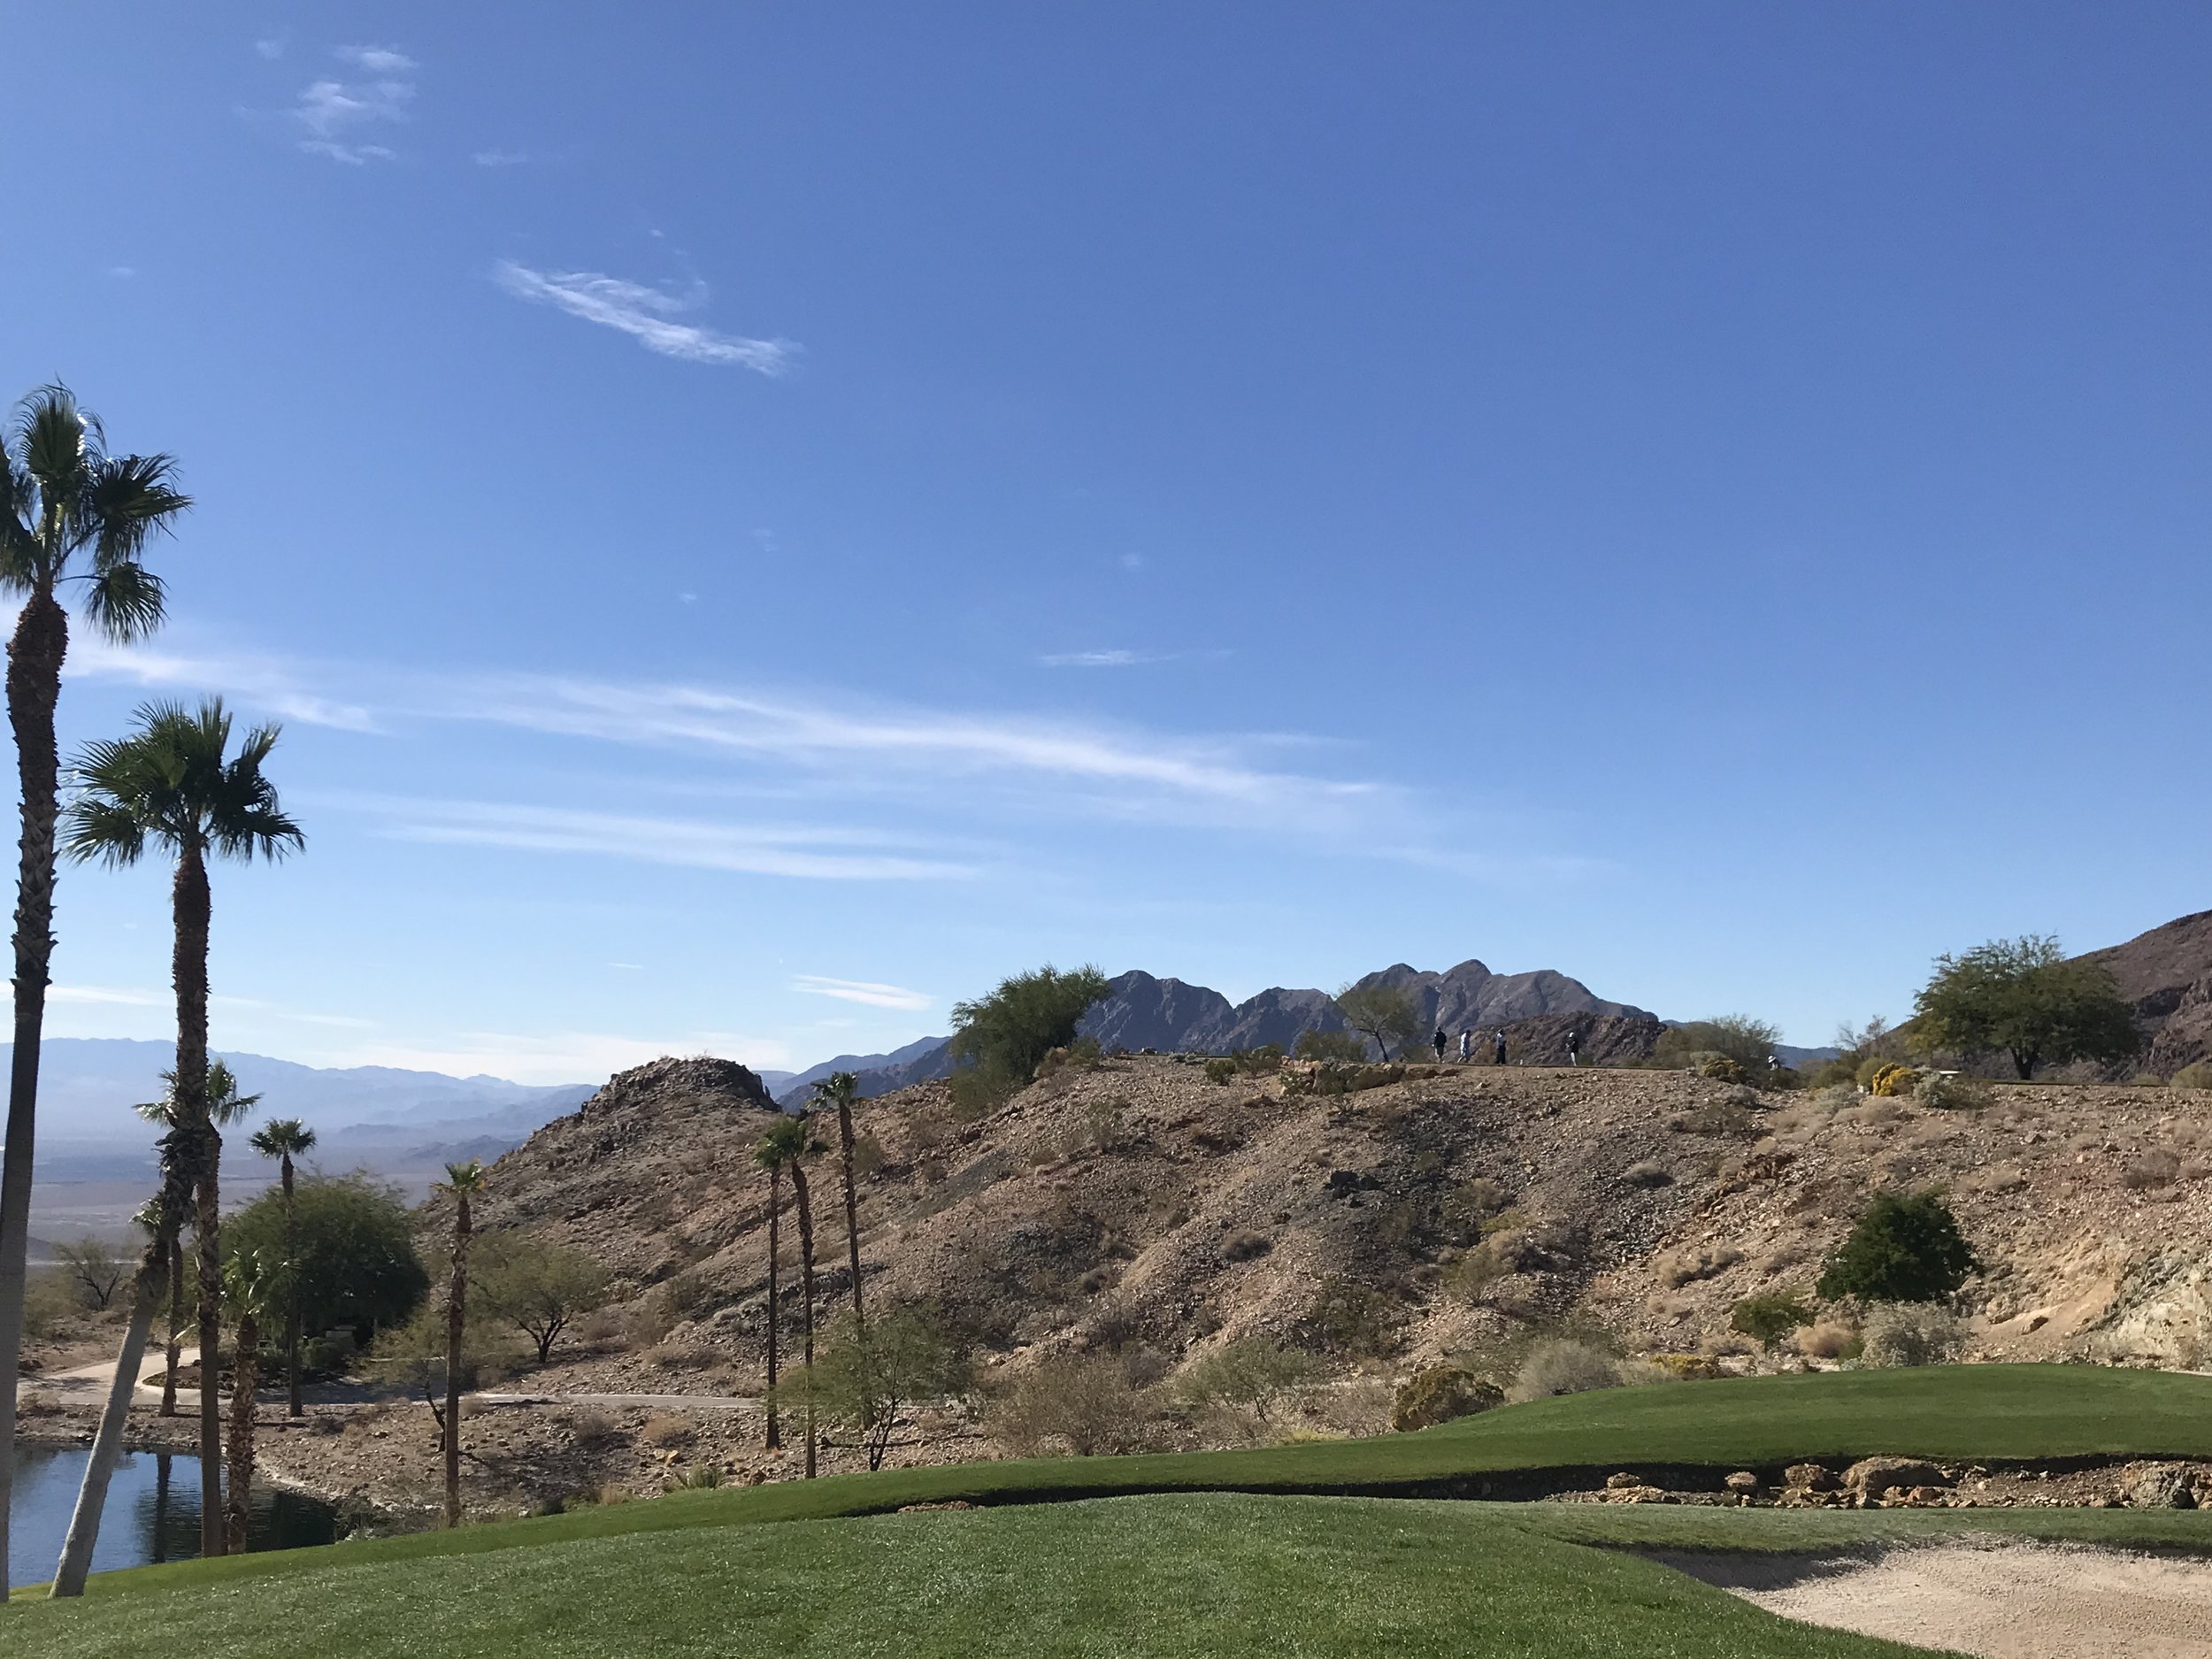
Of the courses we played, Cascata was my favorite for its breathtaking views from every hole. One thing I did not expect were the wild big horn sheep that hang out around the course. The Tuscan-style club house with the waterfall running through it and the automatic “bat cave” doors for the golf carts were a nice touch as well!

Here are some photos from the tournament:


How to Build an Indoor Putting Green

If you live in the Northeast or any cold region you understand how hard it is to practice golf during the winter months.  With this in mind and my first child on the way, I thought it would be a great idea to build a practice putting green in my basement.  You can build an indoor putting green pretty much anywhere, all it takes is a little planning and motivation!  Below you will read about how I built my indoor putting green and the benefits of having it. Enjoy!

Step 1.  Draw your plans

My first step was to measure my basement.  I selected the area where I wanted my putting green to go and measured out the footprint for the putting green.  I decided to make the putting green 6' x 16' so that it would go almost the full length of my basement and was wide enough to put two holes on each end.  I also based this measurement on the standard length of the materials I would need to purchase to make sure that I would get the most out of my materials.

Step 2.  Gather tools and buy materials

The tools I used to build my indoor putting green were:

  • Circular saw
  • Power drill
  • 4.25" hole drill bit
  • Safety goggles

The materials I used to build my indoor putting green were:

  • 2" x 6"s for outer framing
  • 2" x 4"s for inner framing support
  • 1" thick MDF (the densest kind I could find) for flooring
  • 2" wood screws
  • Regulation golf cups (I was able to get these through the Club that I work for but you could also use 4.25" PVC piping)
  • BirdieBall putting green (For this project I used the Classic Putting Green 1/2 inch, two strips of 3' x 6')

The finished size for my putting green is approximately 6 feet by 16 feet and it cost about $475 in materials to build (my labor was free!).  The most expensive material was the BirdieBall putting green.  You could reduce your cost by making a smaller putting green.

Step 3.  Build framing

I used the 2" x 6"s to first build the outer framing of my indoor putting green.

Then I used the 2" x 4"s to build the inner framing support.  I made sure to not block areas where I wanted my golf holes to go as I added the inner framing.

Make sure to add enough inner support so that there are no weak areas in your flooring. I tested this out a couple of times by placing my flooring down every once in a while to test for weak areas.

Step 4.  Insert flooring

I used 1" thick MDF for the flooring of the putting green and drilled them into place.

Because my outer framing was taller than my inner framing, it created an inset for my flooring.  After inserting the flooring, I had a 1" lip to stop my golf balls from rolling off of the green.

Step 5.  Insert putting green and drill cup holes

I placed the BirdieBall putting green on top of my floor and used the 4.25" hole drill bit to drill the cup holes in the platform for my putting green.  I used a BirdieBall cutter to cut the holes in the green.

Step 6. Add finishing touches

Once everything was in place, I marked 1' increments to practice my scoring distance.  Since I built my putting green, BirdieBall now offers the ability to print your logo on your putting green.  I will definitely be doing that for my next putting green project!

Step 7. Enjoy!

Some of the benefits of having an indoor putting green include:

  • Being able to practice golf during inclement weather
  • Relaxation
  • Enjoyment
  • Honing your skills from your scoring distances

Whatever your reason for playing and practicing golf, I can promise you you'll enjoy a putting green in the comfort of your own home!

Have fun putting!